Search This Blog

Pages

Monday, July 26, 2010

Oven Roasted Potatoes


It seems that summer is already over here and I'm ready to go into the Christmas mood.  After waiting for summer to arrive for so long, I'm finally giving up.  Yes, there has been some nice days that were warm (hot) and sunny, but here we are again with cloudy, gray skies and with temperatures that we should have had around spring.  Somehow, after having few days of summer, then next day with winter temperature seems to be really acceptable around here.  After living for very long time now, I am finally accepting the fact that I will never ever have an uninterrupted summer of 3 months (or more) again.  A week or two weeks of summer is perfectly fine.  It saves you a lot of energy.  No need to do spring cleaning.  Who would need to have clean windows for few days anyway, especially if it will rain right after you clean them?
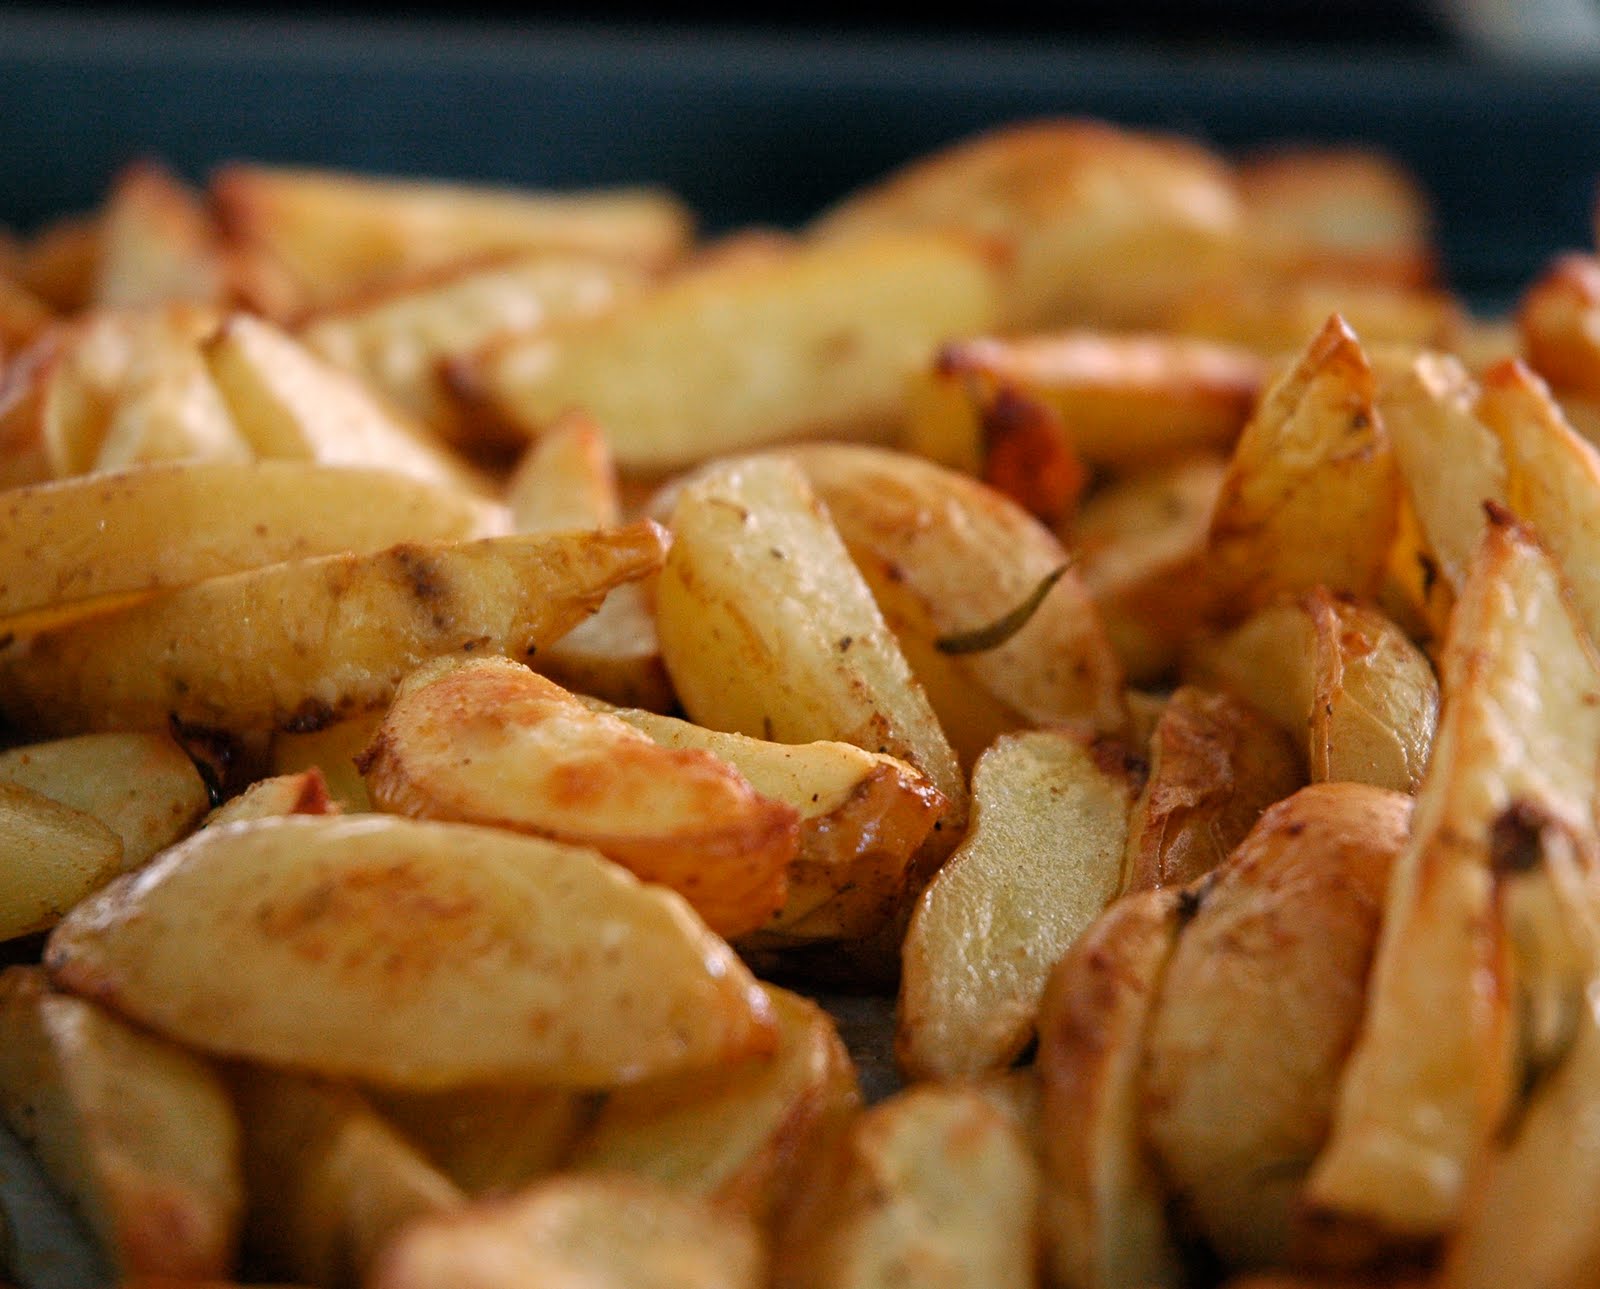
But if you are having a day or two of summer, or if you are one of those lucky people who has long summer season, then I suggest you make these roasted potatoes as a side dish to your BBQ.  They are so easy to prepare. There is no precooking involved. They are healthier and tastier than usual fried potatoes.
I have learned how to make these from my mother-in-law.  I had few friends who have asked me the recipe before, so here it is.  I've made few changes to the original recipe, such as adding the vinegar, which makes the potatoes a little more crispy.


Oven Roasted Potatoes

(Makes 4 servings as a side dish)

About 1 kg potatoes
1/2 tablespoon of fresh thyme
2 tablespoons of fresh rosemary leaves
3-4 tablespoons of olive oil
1 tablespoon of white wine vinegar
Salt
Freshly milled black pepper

Preheat your oven to 200° C(400° F) before you start.  Wash the potatoes very well and without peeling them slice the potatoes into wedges.  Take a deep salad bowl and put the potatoes in and then the olive oil.  Turn them around to get the potatoes coated with olive oil.  Then add all the other ingredients and mix them well with the potatoes. On a flat baking tray, place a baking paper, then spread the potatoes on.  Put them in the preheated oven for about 30 minutes.  If you want them more crispy then roast them for about 20 minutes, then take them out,  quickly turn them around a little bit with the help of a spoon or spatula, then roast them for another 10.  Depending on the type of potatoes you are using, cooking time can vary between 30-45 minutes, so check if they are cooked before taking them out.  Do not burn your fingers while doing so.  Enjoy!

Wednesday, July 21, 2010

Cordon Bleu

This was the last thing I thought I would be cooking after the holiday.  To be honest, I was so used to not-cooking after being cooked for such a long time, I felt like I couldn't be bothered to cook proper meals again.  Oh well...  I had to start at some point.   Husband and kids were hungry so I did what I had to do.   I went to look in my freezer to see what I can find in there, hoping that there is a frozen pizza somewhere hidden or forgotten so I wouldn't have to do much work.  The only thing I could find was some frozen meat including some beef fillets cut for Cordon Bleu.  I have to say, I get these delivered as a part of a package but I have never used them in a real Cordon Bleu, except once. Mainly because I was too lazy to do the work.  Stuffing it, frying it, etc.  It just looked too complicated.  I ended up cooking them as schnitzels or chop them into something else.  This time somehow,  I had the ingredients at home although we had not yet done a proper grocery shopping.  I already had the Gruyere and some Turkey ham.  I have done this once before from a recipe book but it didn't quite work that time, but this trial turned out to be a success.  Meat was cooked perfectly and was soft.  Kids loved it. (Surprisingly!)
I did it really quickly in a very simplified way so if you have the ingredients then go for it.  Below recipe is adapted from Betty Bossi Fleischküche cookbook.

(Makes 3)

3 pieces of beef or veal fillet, sliced into two thin pieces each.  You can leave them attached from one side so it would be easier to close them up. 
100 g Gruyere Cheese (should make about 3 large slices to fill up each steak)
3 pieces of Turkey ham or usual ham
1/2 tablespoon of mustard
Salt and freshly milled pepper
12-14 toothpicks to close up the steaks

To fry:
3 tablespoons of flour
1 egg beaten
1 cup of breadcrumbs (keep the pack near by just in case you may need more depending on the size of your steaks)
Oil 


Prepare your fillets on a chopping board so it's easy for you to work on (See picture).  First brush a little bit of mustard on the insides of the fillets.  Then put the ham on one side. Next the slices of Gruyere on top of the ham.  Try not to stuff the fillets too much, otherwise you won't be able to close them up well and cheese will melt out of the steaks during cooking. The proper way is to wrap the cheese in the ham and then put it on the fillet, however I was in a rush.  Mine looked like this.
Last is to close up those steaks with toothpicks as in the photo above.  Then season them on both sides with some salt and pepper.
When you are done start preparing for frying in this order.  
Put your flour on a flat plate.  
Put your beaten egg on a slightly deep plate. 
Put the breadcrumbs on a flat plate.  
Then put them right next to each other in the same order.  Flour, egg, breadcrumbs. 
Then heat up the oil in a non stick pan.  Don't need to use too much oil, just enough to cover the base of the pan. Start preparing your steaks for the final round. 
First roll the steak on flour, then dip it in the egg and last, roll it on breadcrumbs.  Next onto the frying pan with oil.  Fry 5 minutes on each side over medium heat.  This is very important to get tender meat. 
I served this with some oven baked potato wedges, which I will post here soon.  For now I leave you with Cordon Bleu. 

Monday, July 19, 2010

Hummus


It always feels good to be on holiday, but just like every holiday mine is over and I'm back home.  It was a great vacation at the south coast of Turkey with family and some very yummy homemade food.  I know that most people say their mother is the best cook, but my mother really is the best.  As my first post after the holiday, I decided to dedicate this post to my mother, and put few photos of some of the best meals she prepared for us.  I will not be putting all of the recipes here today, although I will at some point in the future, because I'm determined to try these recipes out in my own kitchen.  Here, I give you one of the best hummus recipes from my mother's kitchen.  It is very easy and quick to prepare if you have some cooked or canned chickpeas and some tahini.

Here are my holiday food photos:

Best cheesecake I have ever had, I'm really looking forward to try this one.


Tahini bread is general sold in every bakery, and it was the first time I had this at home.  It is very easy to make, you just need the usual bread dough and some tahini.


Here is the best leg of lamb I have ever tasted.  It's the boneless part of the meat rolled with rosemary and garlic, then slow cooked in the oven.


Lamb was served with a very soft and creamy potato gratin. 


I'm looking forward to try all these recipes out and share them here. So until then enjoy the hummus recipe below. 


2 cups of cooked chickpeas
1 clove of garlic
1/2 cup of tahini
3 tablespoons of olive oil
juice of 1/2 lemon
1 teaspoon of blackpepper
1 teaspoon of grounded cummin
1 teaspoon of salt
1 tablespoon of parsley leaves and some pickled cucumbers to garnish (optional)

In order to make the hummus, it is best to use a food processor.  Just put all the ingredients in (except the parsley and cucumbers) and blend for about 2-3 minutes until smooth.  You can garnish it with some parsley and pickles if you prefer.  Another option is to pour some melted butter with chili powder over it.  In any case, it tastes great and you can enjoy it warm or cold.  Serve with some pita bread.